Tuesday, May 28, 2013

Monet Lilies

Monet Water Lilies
Grade 1

Portrait
Claude Monet
Water Lily Pond

Students viewed the work of Claude Monet.  We focused and learned about his garden with a Japanese Bridge and pond with water lilies.  Paying attention to the shadows, colors, and lines that give the impression of the surroundings Monet would have seen in person, for he was fascinated with capturing the affects of light.  Sometimes Monet would paint a subject over and over again but at different times of day or during the year.  Examples of these works include his haystacks, morning views of the Seine river, a railroad station in Paris called Gare Sainte Lazre, Poplar trees, the Palace of Westminister in London, the facade of the Rouen Cathedral, and water lilies.

I've seen several art teachers and different versions of this project online. Each year I've taught this lesson, I seem to think of a new idea or approach.  Sometimes you have to just experiment with what materials or results works best with each class and this lesson has progressively changed in different ways.

Version # 1 - Tempera Cake & Oil Pastel
I paired the students up into groups of two.  Each team worked together to paint the water with tempera cakes.  We overlapped colors of greens, blues, whites, and purples to make the lines of the water.  The painted water paper had to dry on the drying rack and we proceeded with learning how to draw the Japanese bridge with shadows using oil pastels.  In the next class period, we tore the painted water paper in the middle and gave the other half to our partner.  This was glued down underneath the bridge area and then we began drawing and cutting out grass and lily pads.  Tissue paper for the flowers were added as well.

Student Work # 1
Student Work #2


Version # 2 - Watercolor & Oil Pastel
Students started the project by painting with watercolors and using saran wrap to spread and blend the colors.  Careful attention was made to place the warm colors for the sunset towards the top and the cool colors for the water at the bottom.  While the watercolor paper was drying, students began drawing the grass and lilly pads.  Next class, the Japanese bridge was drawn with oil pastels with the black for the shadows.  To complete the project students finished gluing the grass, lily pads, and tissue paper flowers.  Another option is to take oil pastels to emphasize the movement or appearance of water before students glue down the bottom pieces.

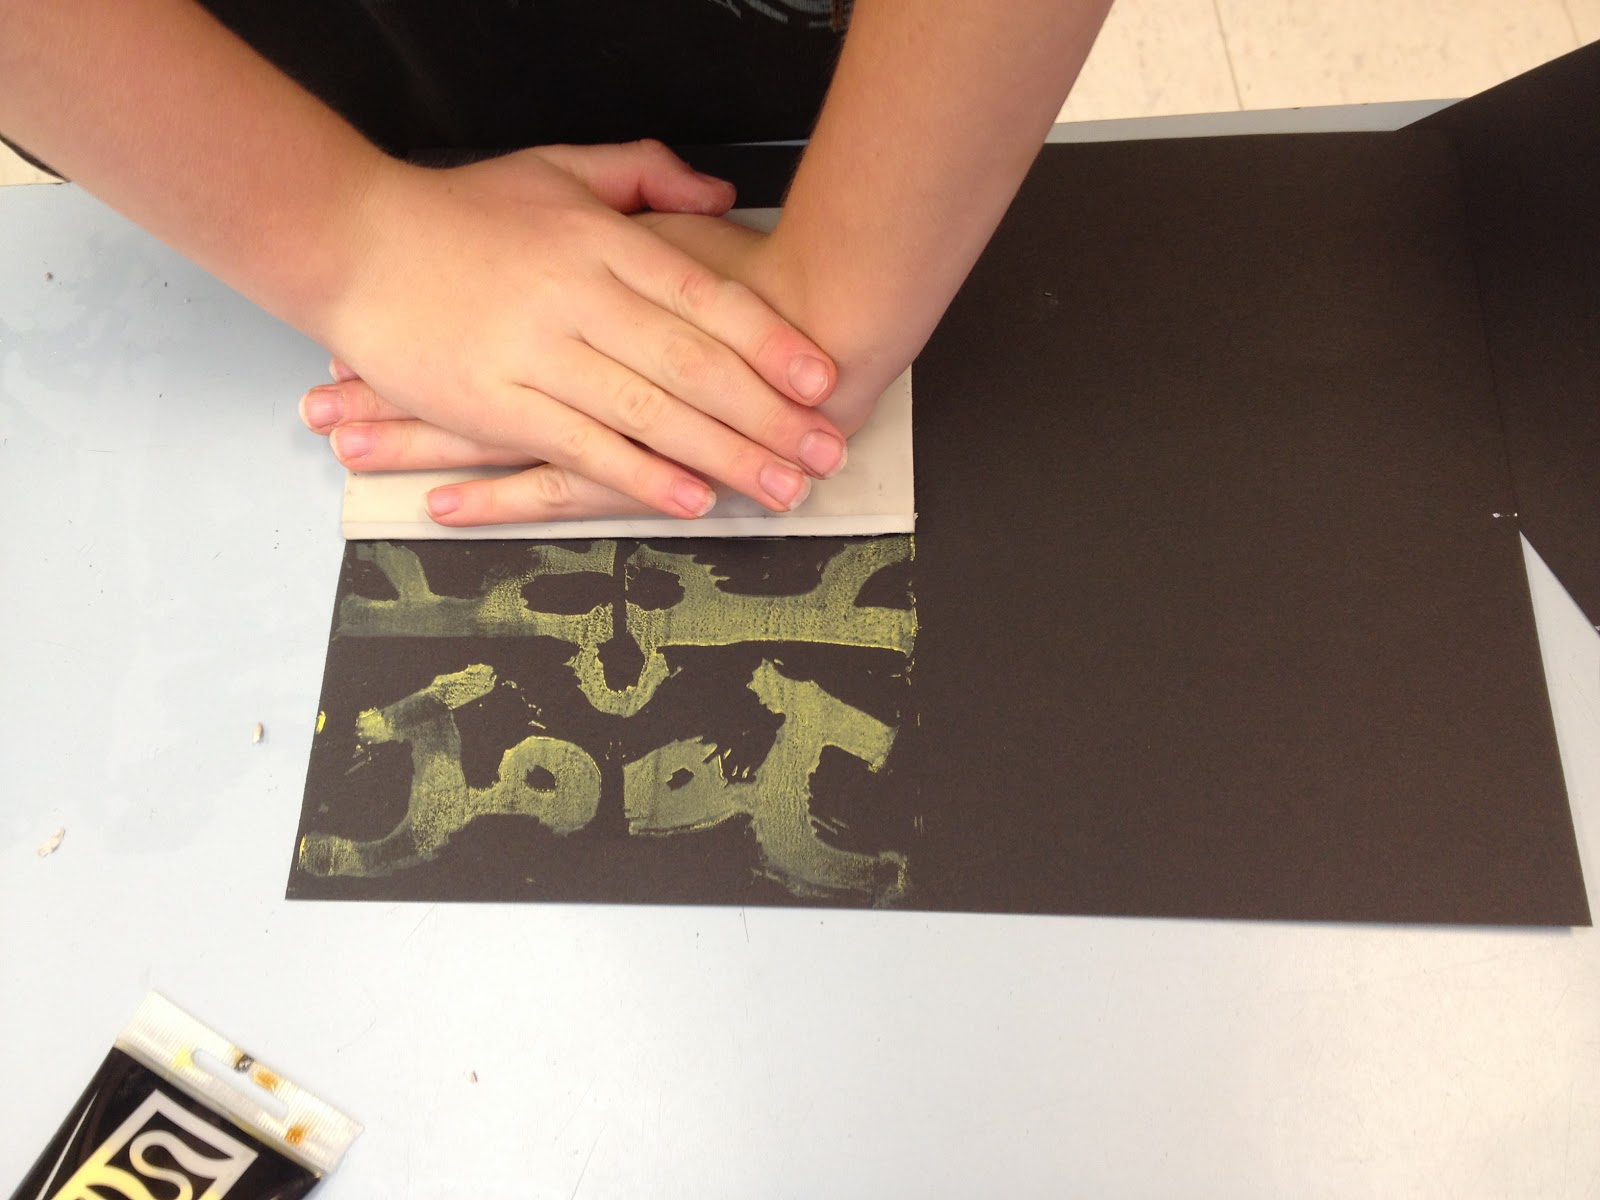
Background Paper
Watercolor with Saran wrap


Student Work # 3

Student Work # 4
(Oil Pastel added at bottom for the water)

Charcoal Still Life


Art Enrichment
Grade 5

Still Life
Subtractive Charcoal Drawing is a method of drawing usually completed with charcoal.  A layer of charcoal was evenly spread and rubbed by the students hands on a sheet of paper.  Using an eraser as the drawing tool, the drawing appears by slowly removing the charcoal with a kneaded eraser.  The  students started by erasing away the brightest values of the objects and gradually decreased the pressure of the eraser to create the middle values or added more charcoal to create the dark values of the drawing.  


Work In progress # 1
Work in progress # 2


Work in progress # 3


Finished Student Work 


Tuesday, May 7, 2013

Paper Mache


Paper Mache Masks
Grade 5


Student Mask # 1
Student Mask # 2
What stories or clues can masks tell?  Most nations all over the world have a cultural past which includes masks.  

Masks are used for several purposes....
1) Conceal one's identity
2) Functional or decorative enjoyment in holiday celebrations (Halloween, Mardi Gras, etc...)
3) Rituals or religious ceremonies
4) Hunting & War
5) Honor & Burial
5) Performances / Entertainment (acting, dancing, etc...)

Students viewed masks in many cultures through time.  Using a plastic mold and paper mache, students learned and applied the process of mask making.  


Students work in progress.....


Linoleum Prints

Linoleum Block Prints
Grade 4

We are going through the process of creating linoleum block prints.  This technique creates a relief printing plate.  After drawing or transferring an image on the surface of a rubber block, the artists uses tools to cut away the areas that will not print.

Common tools used in printmaking:


Print Blocks                                                                       Linoleum Cutters


Brayer with Ink
Students started sketching a design using their initials or name with pencil.  We did this on paper and then transferred it to the linoleum block.

Sketching on Paper
Retracing Pencil Transfer

Cutting Blocks with
Safety Lino Cutters

The Linoleum block is now ready to print

Inking the Printing Plate


Printing


Printing

Printed Work #1

Printed Work #2

After printing, students used oil pastels to color in the negative spaces, keeping the design symmetrical. What you see here is the final and finished product.


Weaving

Watercolor Weaving
Grade 3


Students practiced a few basic watercolor techniques on two pieces of paper.  The first paper was the wet-on-wet technique with the warm colors.  The second paper was straw blowing with the cool colors.  The final project required students to assemble a paper loom and weave cut up paper strips.  This introduction with paper gave us experience understanding how baskets and textiles are made.


                                                              Students Work In Progress


Monday, May 6, 2013

Coil Pots

Grade 2


Students built a clay pot using rolled coils.  This is a simple hand building technique that has been used thousands of years.   


Rolling the Clay

To add pieces students learned how to scratch & slip the clay.  This process helps our clay stick like glue, otherwise the pieces would fall off in the kiln.


Coil pots waiting to air dry before going in the kiln.                                    The Kiln


Students glazing coil pots.


                                                                Students final glazed pots.